Die for food, crazy for cats. Depress at night alone.
Die for food, crazy for cats. Depress at night alone.
"Screentone" paper is a common term in the world of manga and comics. Manga and comics artists frequently use this sort of paper to create shadows and other effects on their pages. But how can we use these materials as digital comic artists? The following are some of the ways Medibang helped us get a halftone effect.
You can watch my tutorial about Medibang Paint Pro Halftone layer on Youtube here:
Medibang's Material system has pre-made screentone sheets that may be used.
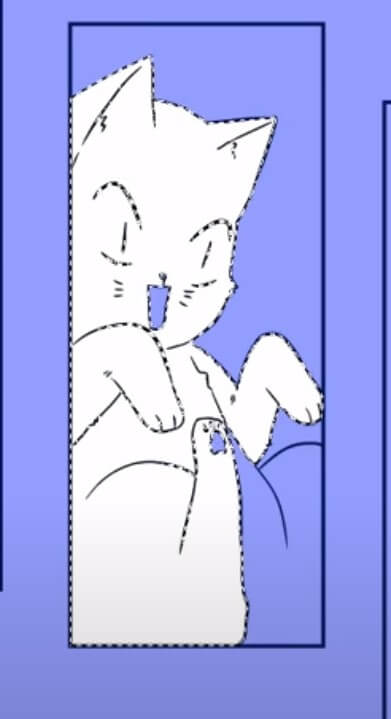
In the beginning, you may pick the area where the screentone should be applied. The Magic Wand tool makes it simple to accomplish this. However, you may do it later, and I'll go into more depth about this tool in a future post.
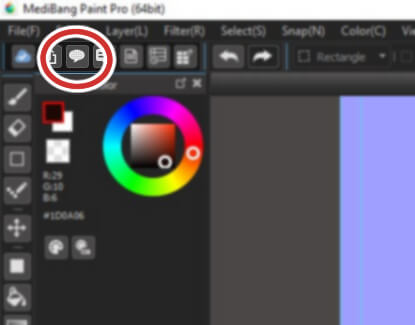
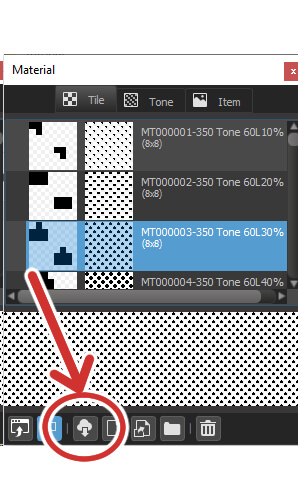
Now choose the Material button.
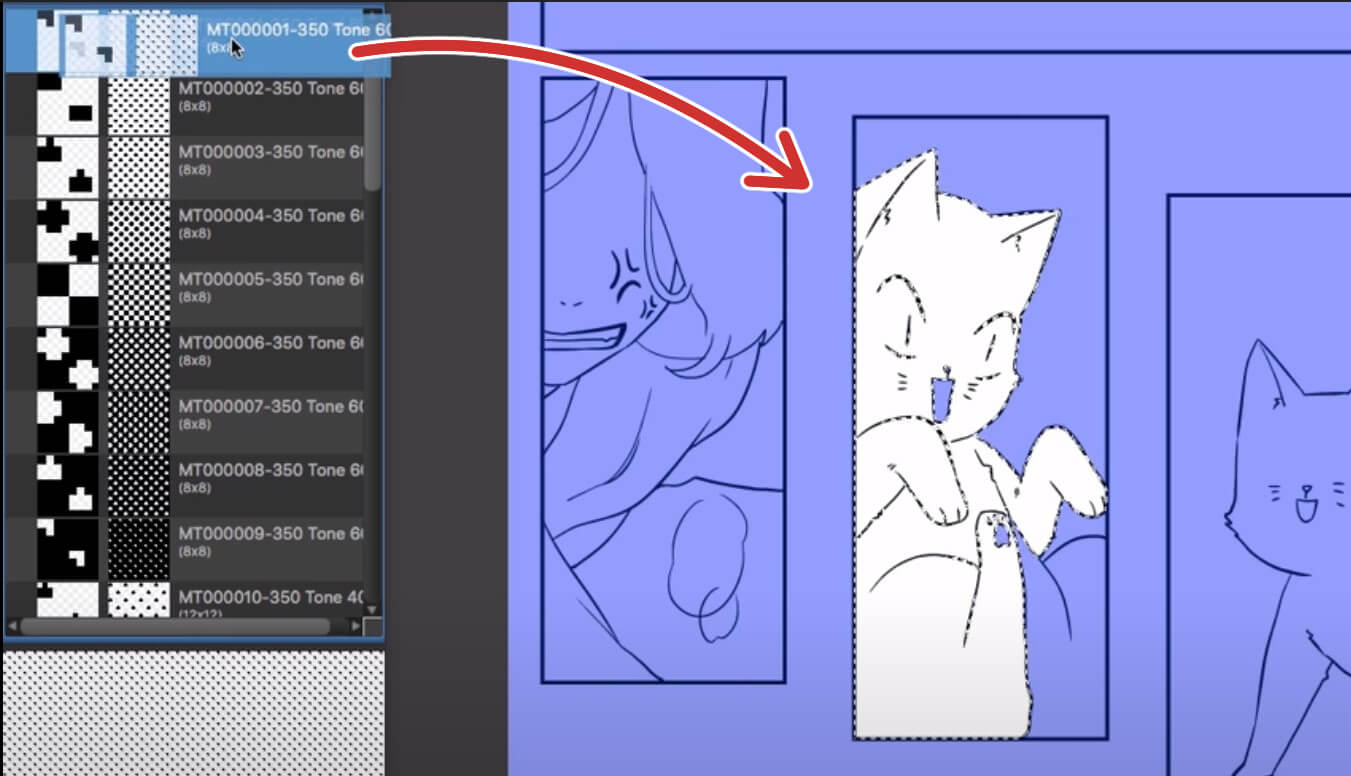
In the Tile tab, select the appropriate screentone type. Grab and drop it onto your working file.
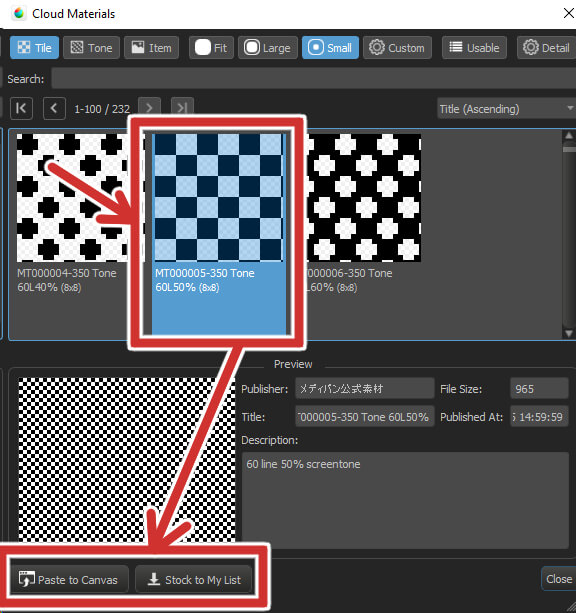
You can click the Cloud button if you can't find the screentone you're looking for.
Choose the Screentone you want and click the Paste to Canvas button to add the screentone immediately to your comic page. Or you can choose the Stock to my list button to save the screentone to your device automatically.
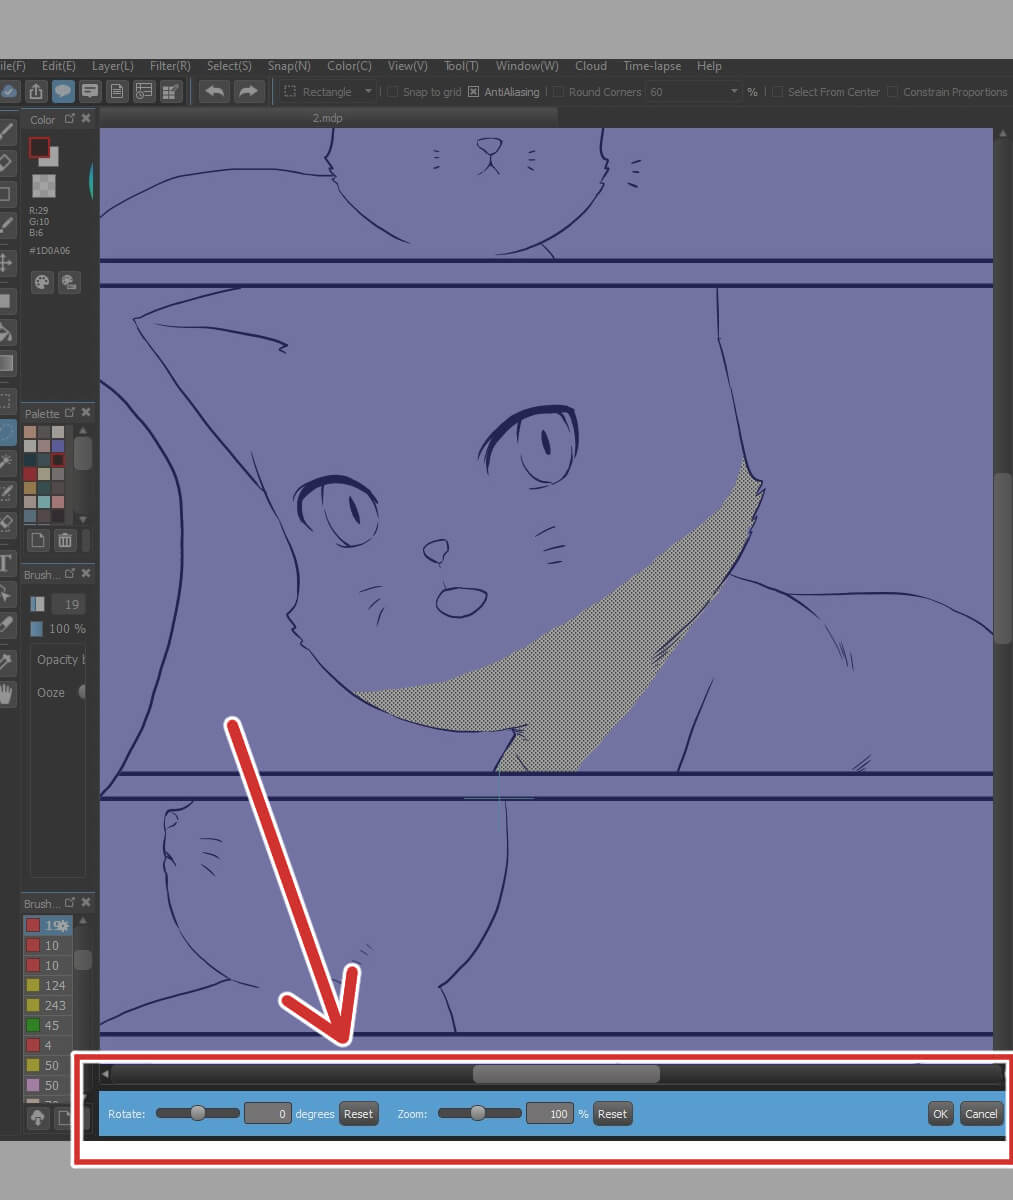
When the screentone is pasted to your comic page, you can drag the Zoom slider at the bottom of the screen to make the size of the screentone paper bigger/smaller. This paper can also be rotated to the correct angle if necessary. If you want to start over, all you have to do is click the Reset button. When you're satisfied, click OK.
If you didn't use the selection step before you started, you could use the eraser tool to get rid of parts that you don't need.
Create the 8bit layer in the layer window to paint the shadow on the layer you’ve just created.
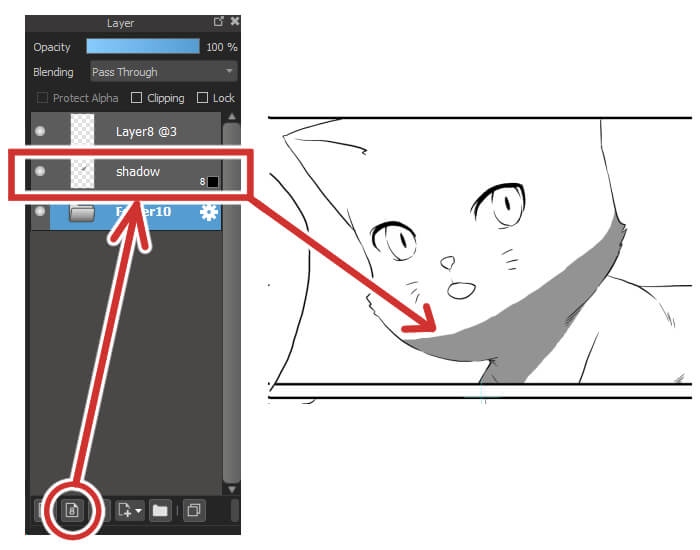
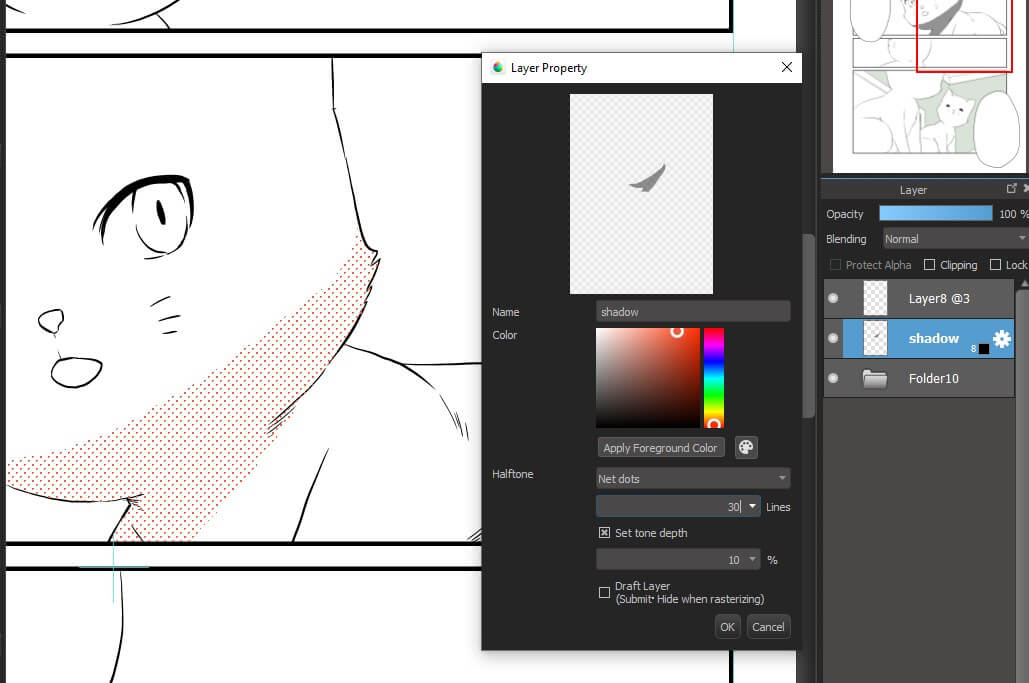
Once you've finished the required area, click on the wheel on the 8bit layer. The Layer Property panel will appear.
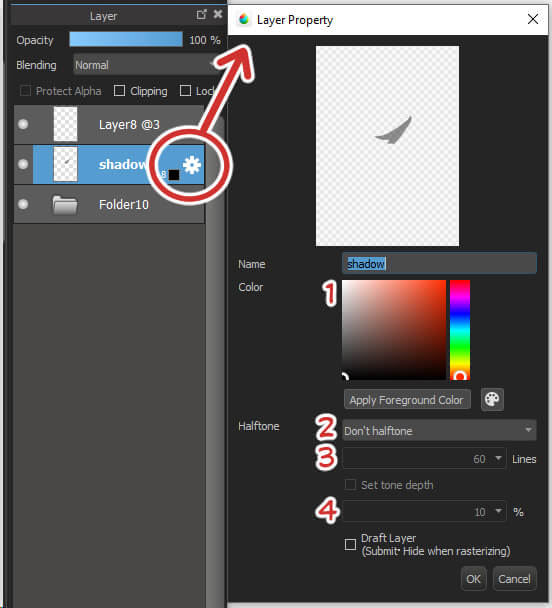
Using an 8-bit layer will make it easier to adjust and tone up the image to your liking than the pre-made screentone in the Material box.
If you don't like those options for making a halftone effect, you can use the halftone layer creation feature in Medibang Paint Pro instead. Instead of filling the shadow area first, you can just click on the Halftone layer button and start with the setting right away!
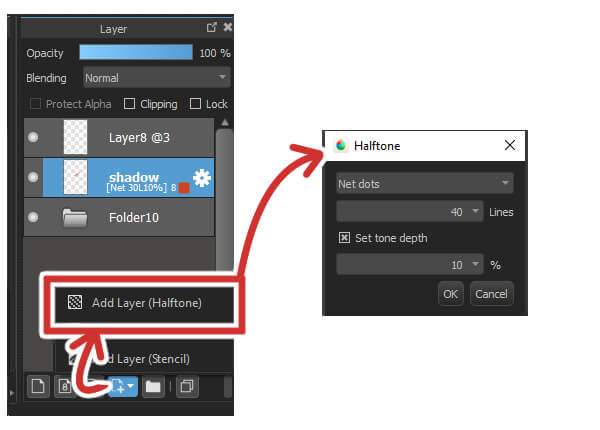
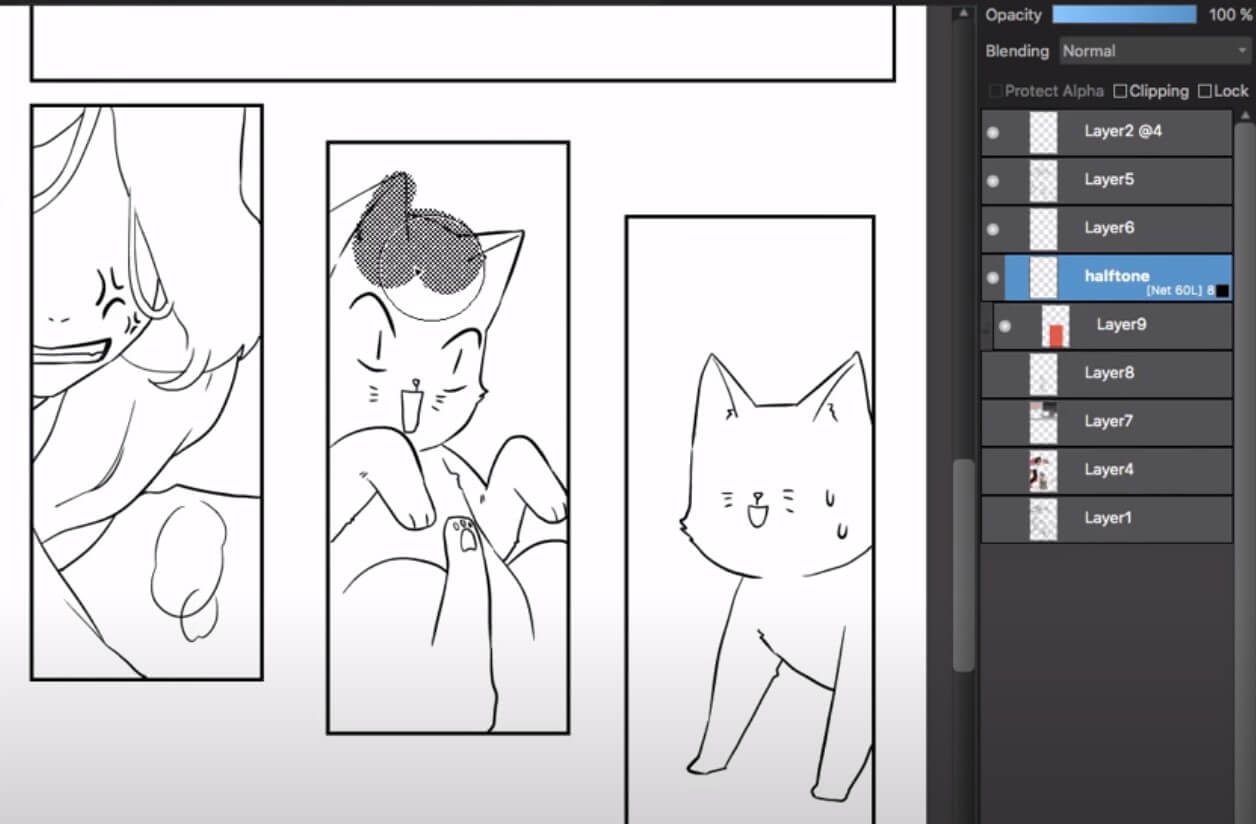
After you click OK, you can use the brush to paint the halftone area. If you need to change the color, click on the wheel of this layer like you did with the 8bit layer above.
And that’s all I want to share about How to create halftone in Medibang Paint Pro. See you in the next post!