Die for food, crazy for cats. Depress at night alone.
Die for food, crazy for cats. Depress at night alone.
When you get to this article, you already know about Medibang brush and how to make your own.
But the brushes I talked about in the tutorial How to create Medibang custom Brush are single images, which means that each brush stroke only shows just one kind of leaf or just only a shape. Medibang Multi Brush is the right tool for you if you want to make brush strokes with a wide range of images.
If you don't feel like reading today, you can watch my Medibang Multi Brush video here:
Usually, Multi Brush will be created to create effects or help you reduce background painting time. For example the brush below:
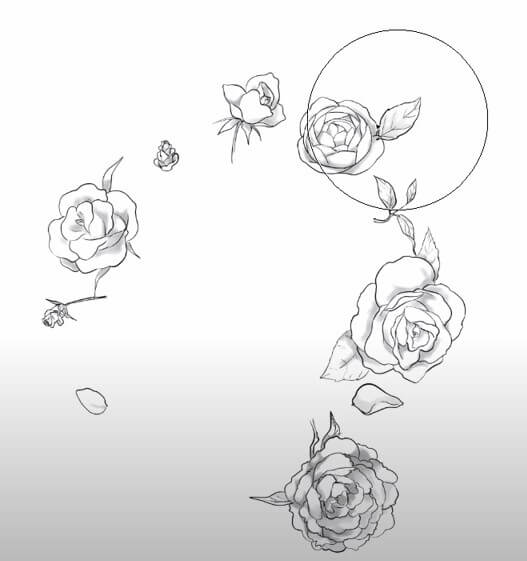
With Multi Brush, you can paint a flowery background, a bowl of rice, a full plate of noodles, an accessory for your character, or even a crowd of people in less than a minute. These brushes are fairly common and easy to obtain in assets on Clip Studio Paint. However, they are very few on the internet, or you can download them with Medibang premium.
You might not be able to find or download a Multi Brush for some reason, but Medibang lets you make your own Multi Brush. So let's follow the next steps to create your Medibang custom Multi brush!
1. Prepare the figure for the brush tip
Because Bitmap brushes function by inserting images into each brush tip, the idea behind Multi Brush is to provide numerous alternate images rather than just one.
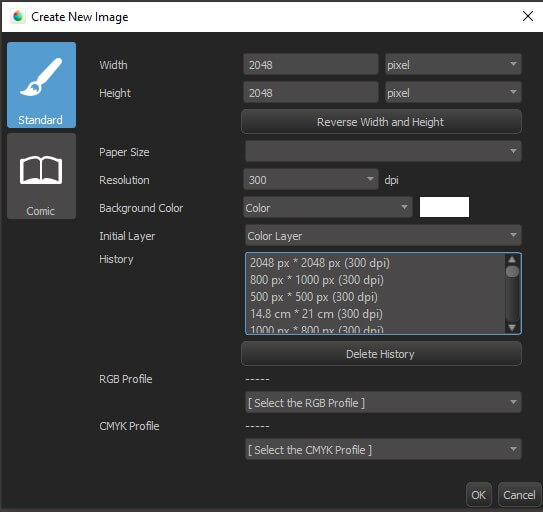
Step 1: Make a file that will be used to create brush tips. Remember that 2048px*2048px is now the best file measurement.
Step 2: Start drawing the image for the brush tip. If you already have pictures, copy each one individually. Keep in mind that each image will be on its own layer, as shown below.
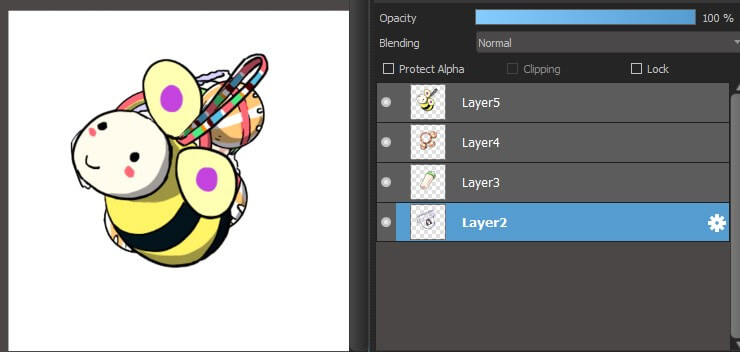
Why does each picture have to go on its own layer? Because then, Medibang will see each layer as an image to attach to the brush tip. If you have ten layers, your pen stroke will have ten different images. Note that we cannot create more than 30 layers.
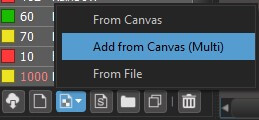
Step 3: When the preparation is completed, select Add Brush -> Add From Canvas (Multi) from the Brush window.
The Edit Brush window will appear. Let's change the Type to Bitmap for the continuous brush (e.g: the necklace, streets, crowd, and so on). If you choose Scatter for Type, you can change the settings as follows meaning:
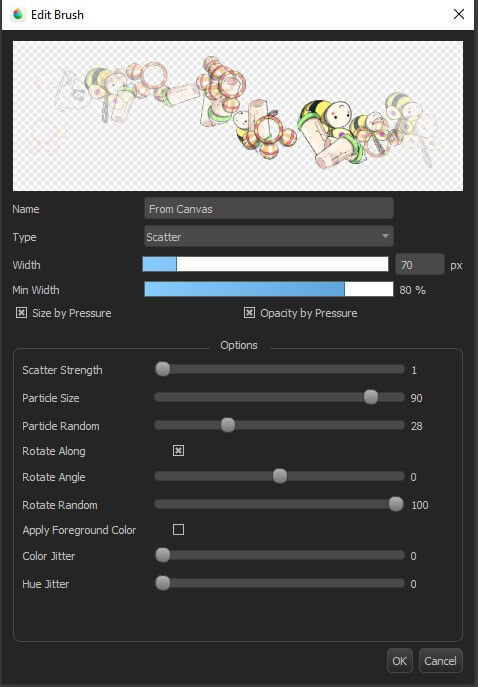
- By adjusting the Scatter Strength indicator, you can alter how many images are displayed.
- The Particle Size setting lets you change how big the pictures are on the brush tip.
- Just tweak the Particle Random slider if you'd like the brush's displayed image to be of variable proportions.
When you're satisfied with your Multi Brush, click the OK button. And that's all I want to share about Medibang Multi Brush. See you in the next article on how to use the color feature in Medibang.