Die for food, crazy for cats. Depress at night alone.
Die for food, crazy for cats. Depress at night alone.
In the previous post, I gave you a brief introduction to Medibang Paint Pro's brush tool. To continue, we will go over creating a brush in Medibang in detail and step by step.
As previously mentioned, the Bitmap brush is a method of attaching an image to each brush point. So in order to make a brush from Bitmap, we must first prepare the picture for our brush as follows:
Step 1. Make a square file that is 512px by 512px in size. This is the size that Medibang recommends for the best results. Go back to Create a new Medibang Canvas to learn how to do it if you are still confused.
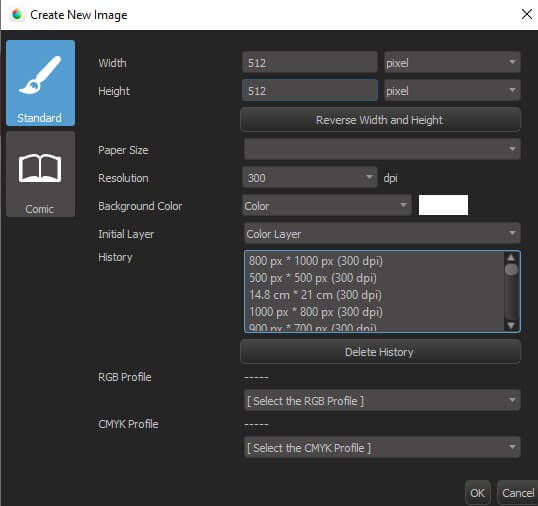
However, depending on the purpose of rendering the final brush image, you can adjust the file size correspondingly (e.g. horizontal 512px, vertical 200px). However, keep in mind that the horizontal size is always a priority, especially for brushes with pictures that are connected together like a rope.
Step 2. Draw or copy a shape/image you want to turn into the brush tip. For example, If you'd like to create the vines brush, you'll need to create a part of the image of the vine similar to the one below.
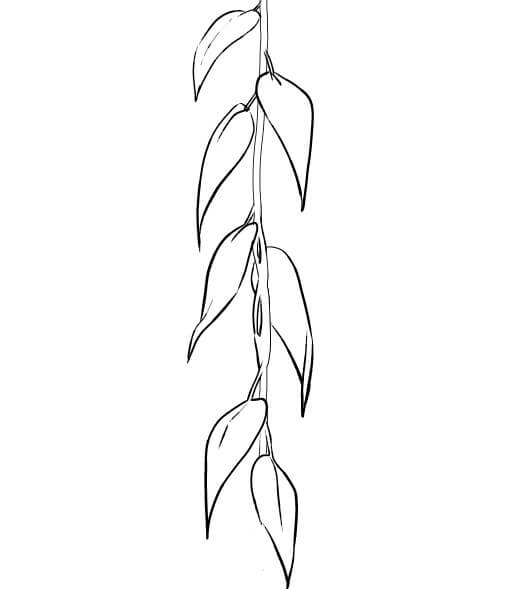
If you want to make a continuous brush (ex: the vine brush above), here's a tip: draw your brush tip from left to right (in a horizontal direction), not from top to bottom as I did here. Or you'll have to change the angle in the settings later.
You can freely divide layers while creating brush files because doing so has no impact on the final product. Like the vines in the example above, this one also has an outline layer and a white fill layer. No matter if you merge those layers or not, the result is still the same.
Save this file when you're ready, but do not close it. The primary goal is to guarantee that you are safe from data loss.
Once your brush image is done, it only takes 1 minute to turn it into a brush you can use in your painting. But don't be afraid to edit the image of the brush tip, especially if it's your first time and you need to make a few adjustments to get the perfect result. And here are the next steps:
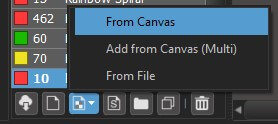
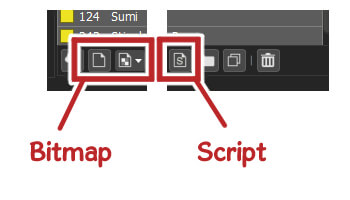
Step 1. Choose the Add Brush (Bitmap) button -> From Canvas.
There will be a notice if the file you create is larger than 512px; click OK.
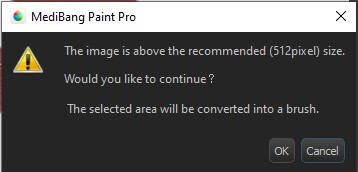
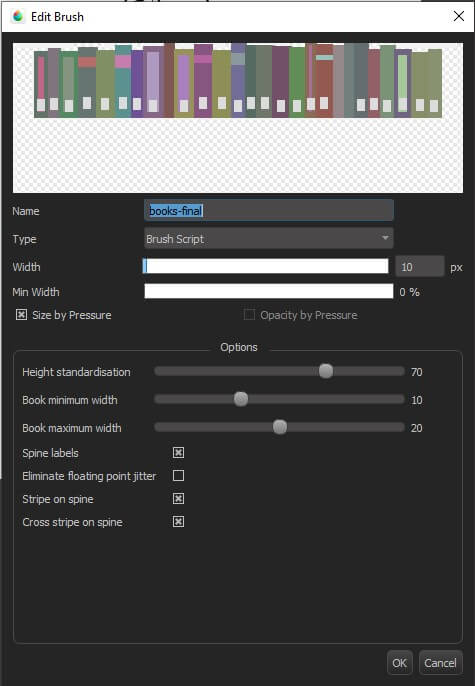
This doesn't make a big difference in the end if your canvas size is not too big. The Edit Brush window will then display.
Step 2. Change the settings so that the thumbnail results match what you had in mind from the start.
Notes on customization:

- Type: Choose Bitmap if you want to make the continuous brush (you can see the thumbnail in the picture above). Choose Scatter if you want this image to jump around randomly, like feathers that are all over the place. The Type with Watercolor add-on will make the color strokes blend together, so it's not good for brushes that want to keep the image as it is. Patterns will only be used to make a screentone, or background made up of repeated images.
- If you want the brush's tip to rotate together with your stroke, select Rotate Along. You can make small changes to Rotate Angle and Brush Spacing to make the brush look smooth and fit together.
- Uncheck Apply Foreground Color if you want the brush to keep the color you gave it. This also means that the brush won't change color even if you switch to a different color. This option is good for brushes whose colors are set or that have been changed later.
- Check the Apply Foreground Color box if you want the color to appear freely based on the color you chose when drawing. However, the newly formed Brush will now encounter a circumstance where the pen strokes overlap. Additionally, even with your Opacity set to 100%, the white color will still be regarded as transparent. So use caution.
- When you change the Color Jitter, the brush color brightness will change. If you change the Hue Jitter settings, the brush's color display will change, giving you a rainbow effect. You can only use these two settings if you check the Apply Foreground Color box.
You may view the movie here to see an example of a brush I made:
After you've set up everything you need to, just click OK. So the new Medibang custom brush is already in your Brush window and ready for its job.
The brush file should be saved as .PNG type with a transparent background if you intend to share it online. Because a white solid background will also be counted in the brush dot image by Medibang. You can also easily notice this if you download a brush image from another artist; they will provide you with .PNG file with a transparent background.
In case you want to add other artist brushes to your collection, there are two ways to do it:
Method 1: Go to File > Open and look for the image brush you just downloaded. To open it, click Open.
Once you've opened the brush file in the Medibang software, you can repeat the steps I gave above for creating a Medibang custom brush. If you don't know how to customize the brush, ask the person who made it what settings they used.
Method 2: Choose Add Brush (Bitmap) button -> From File line instead of the From Canvas line. With this method, we can skip the annoying step of opening a file and go straight to making the brush.

As I said in the article about Medibang Brush, you need to know a little bit about programming to make Script Brush. You cannot create a Script Brush with an image, but with commands like the following image:
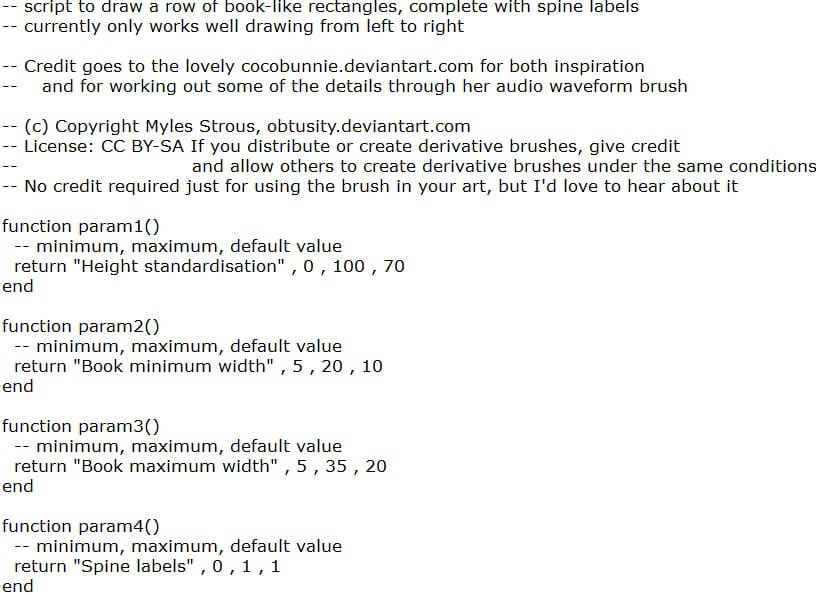
Source: Script Brush Books by obtusity
I can't show you how to make a Script Brush because of this (I have no clue about programming lol). On the other hand, Script Brushes are easy to find on the internet. After you've downloaded it, just click on the Script Brush button.
And choose the file that you just downloaded. All done. You don't need to change anything about Script Brush. All of them are ready to be used.
But that doesn't mean you can't change these brushes’ settings. You can still click the brush gear buttons and open the Edit Brush window to change the settings to your liking. Another difference is that each Script Brush will have different custom settings, not the same as the Bitmap Brush. Because it is a programmed brush, the Script Brush often gives better results than the Bitmap Brush and is easier to use.
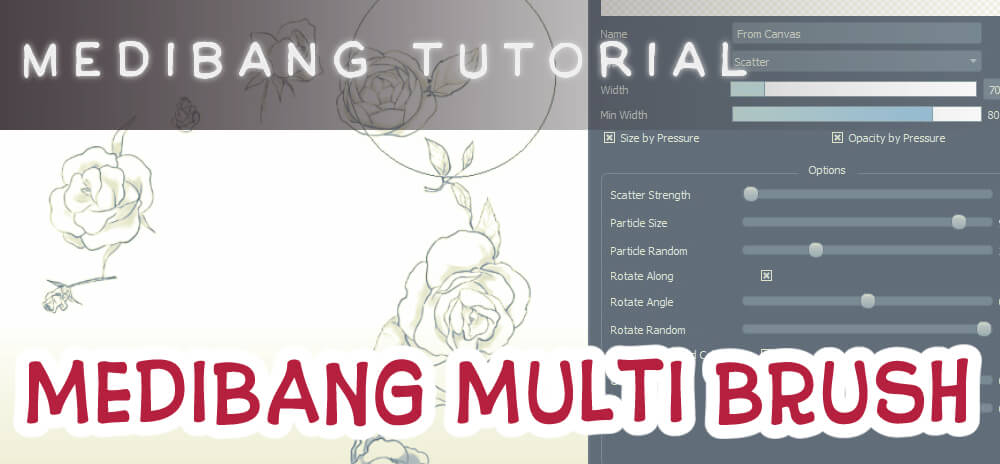
So we already understand what as well as how to make Brush in Medibang. In the next piece, I'll go over Medibang's Multi Brush function, which is a really good brush creation feature.