Die for food, crazy for cats. Depress at night alone.
Die for food, crazy for cats. Depress at night alone.
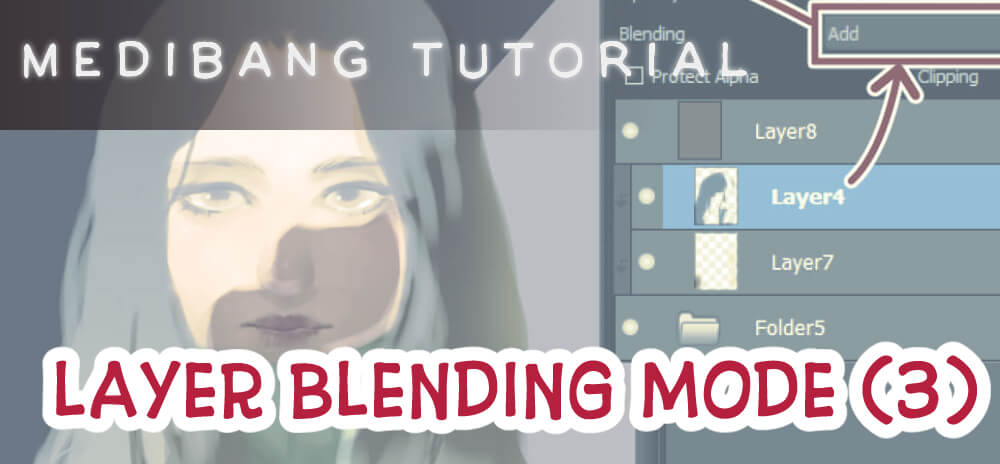
After Part 1 of Blending Mode in Medibang Layer, I hope you have understood and applied it to your artwork. Now we will continue to the next 5 effects in Medibang's layer blend effects.
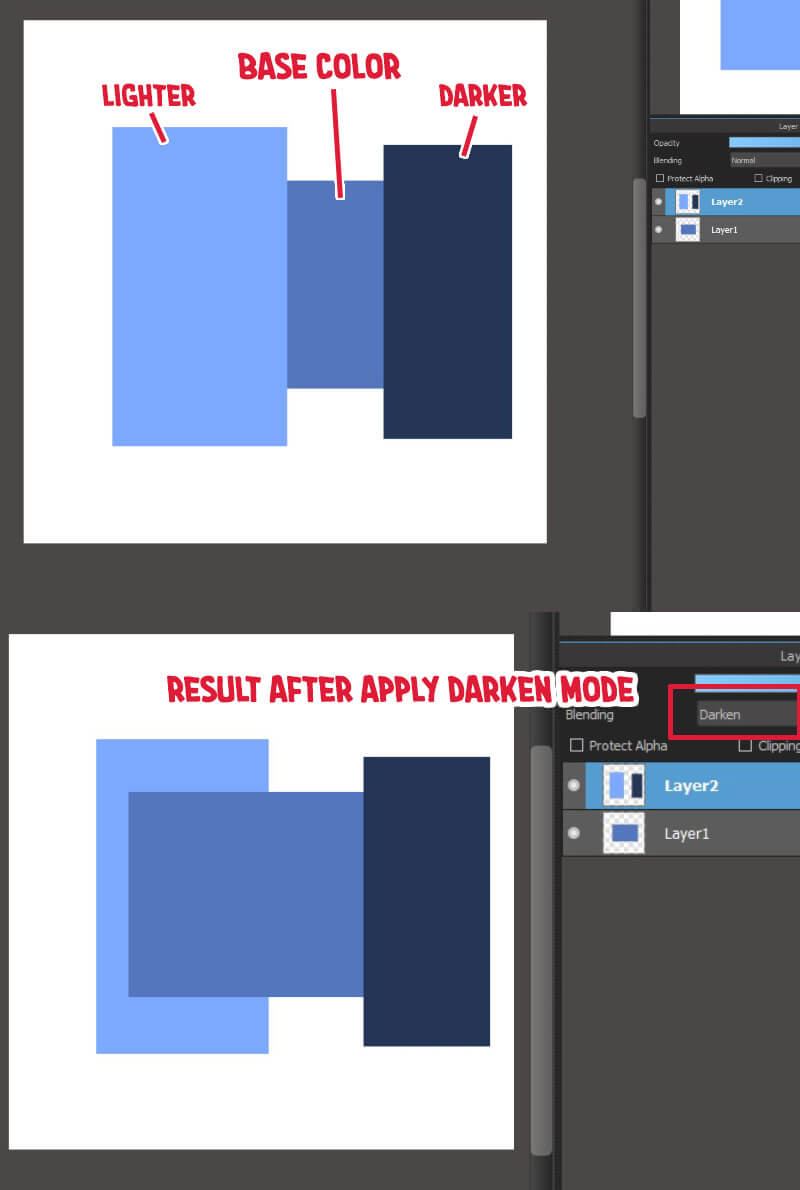
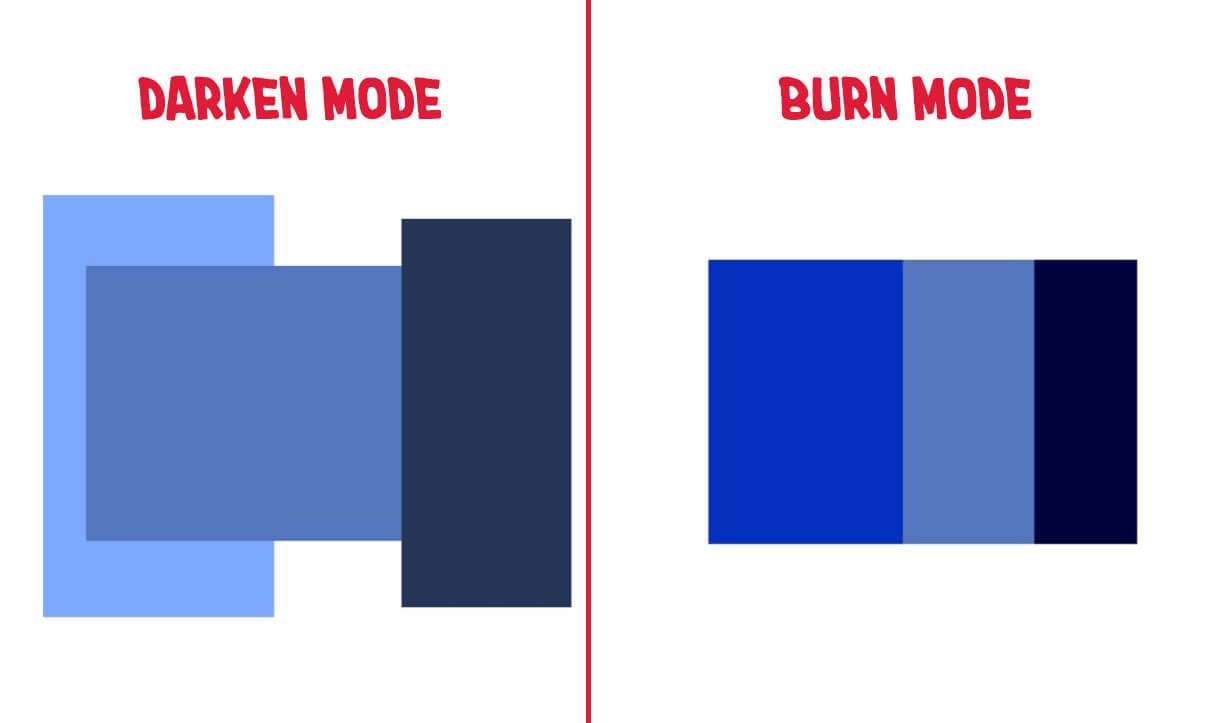
1. Darken
Besides Multiply, Darken can be an option if you want certain parts of the picture to be a little darker. However, Darken mode works in a different way.
If Multiply combines with the base color to make a new color, Darken compares the two layers to see which one is darker. The effect will change when the color of the Darken layer is darker than the color of the background. On the other hand, nothing will happen if the base color is darker than the color of the effect layer. You should pay close attention to this to make sure that the effect works as it should.
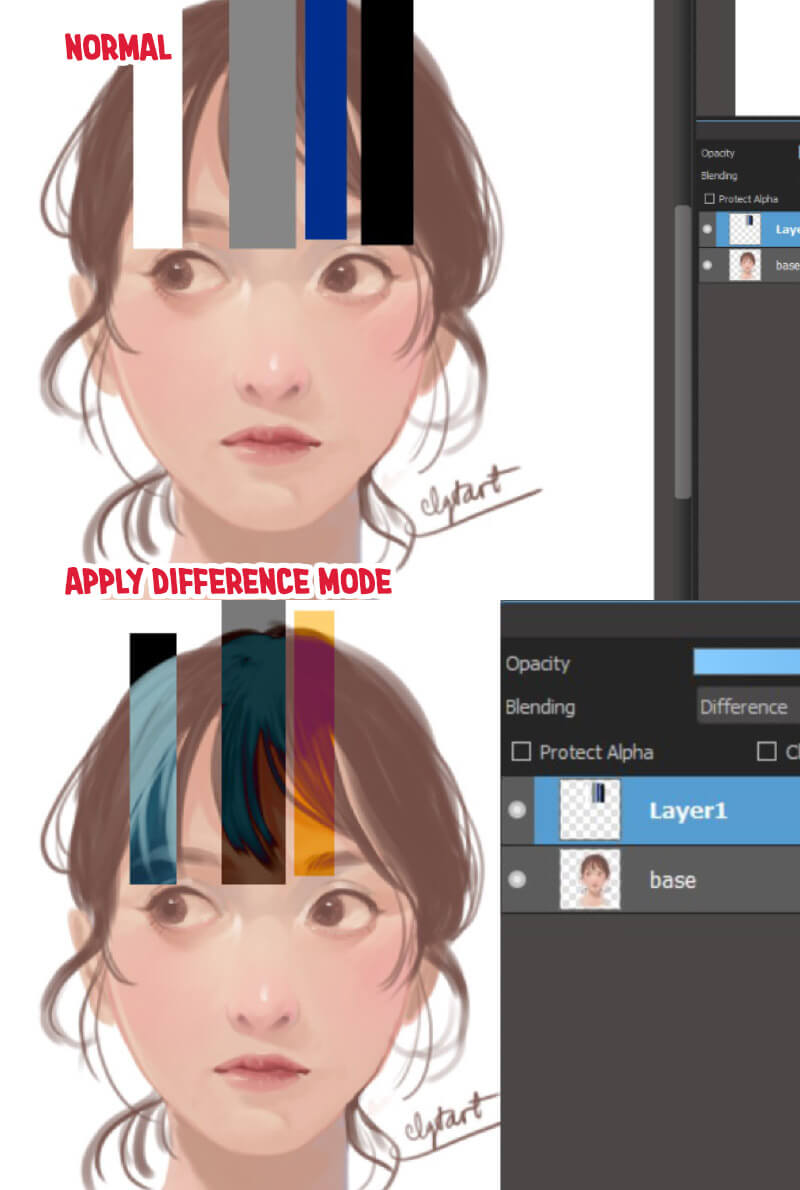
2. Difference
As the name implies, Difference works by comparing the differences between the colors in the effect layer and the base layer.
When you choose a color in the effect layer, the following is how it will work:
- The colors of the base layer are inverted when white is used. It achieves the same result as inverting the base layer's colors. You can try testing on the color wheel (ex: the result of red will be cyan)
- Black doesn't change anything, but dark grays make things a little darker.
- Even if you make the saturation higher, this general rule will still work.
Because of the way it works, the Difference effect gives quite interesting results.
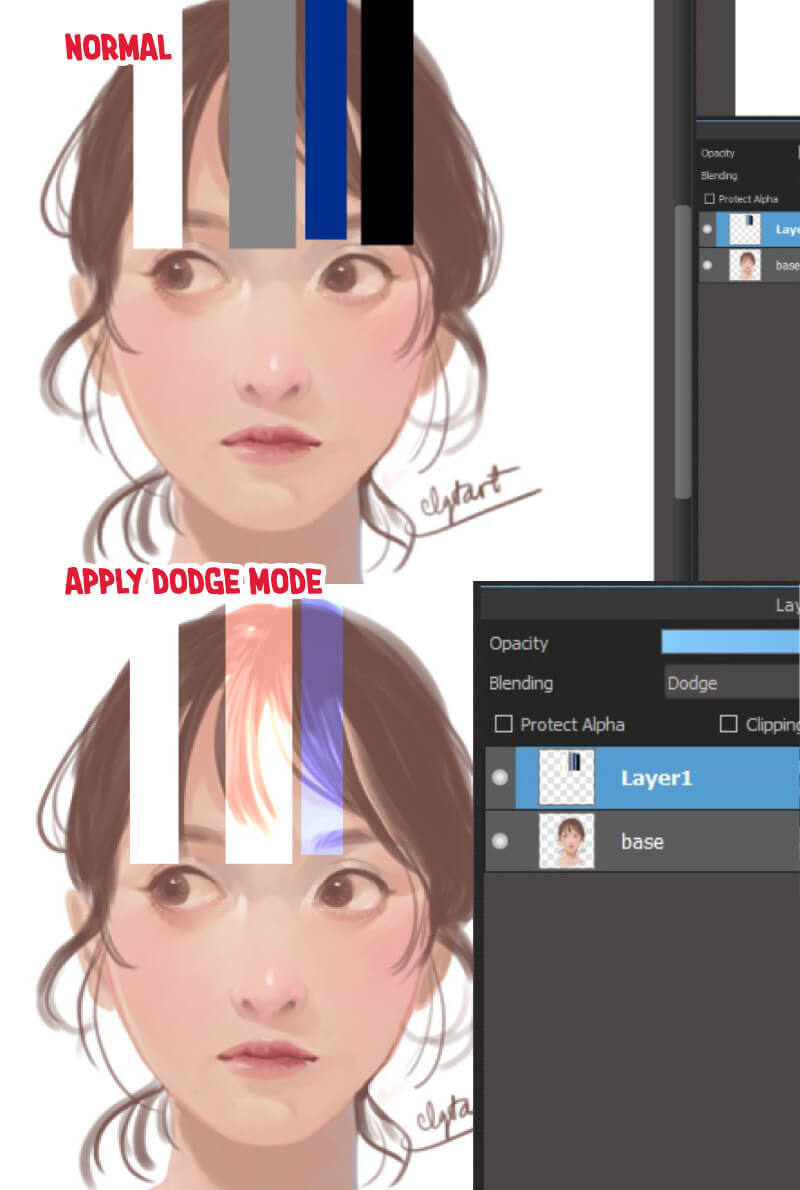
3. Dodge
If you need a higher light effect than Screen, then Dodge is a pretty good choice next to Add. However, I still prefer to use Add. Because it works the same no matter what color you use, while choosing black for Dodge has no effect at all. This blending mode also reduces color contrast and makes the mid-tones and highlights more intense.
I often use Dodge to make metallic highlights, which looks better than using Add.
4. Burn
Contrary to Dodge, Burn makes the picture darker and gives it more contrast. No results will be displayed if you use white when using the Burn effect.
Burn is a darker effect than Darken. In addition, with Burn's operating principle, it only displays the results at the color pixel points shown.
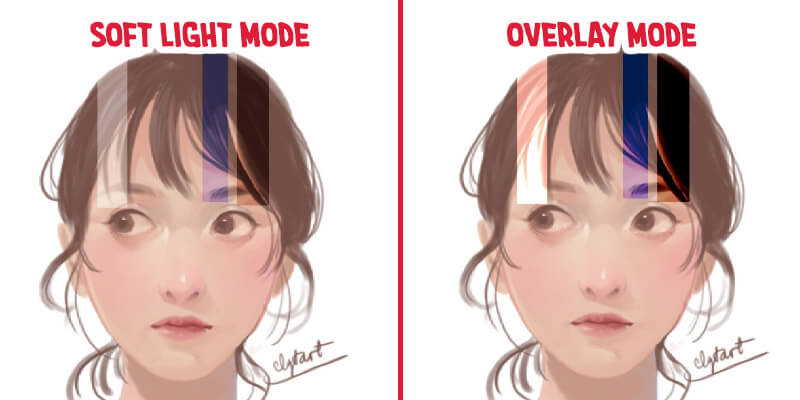
5. Soft Light
If you're not happy with how your artwork looks when you use the Overlay blending mode, you might want to try Soft Light.
Soft Light functions similarly to Overlay but in a more subtle way. In this blending mode, a 50% gray color will produce no results.
I believe that understanding how Medibang layer blending modes work will help you grasp what you need to do while creating digital artwork. And that’s 12 Medibang Paint Pro layer blending modes. The rest will be included in the following article.